The heavy bag is the most important piece of equipment you can have at home for Muay Thai training - especially if you train at home alone. Unlike shadowboxing, the bag provides resistance and feedback. Unlike pads, it does not require a partner. A quality heavy bag session can build power, improve cardio, sharpen technique and condition your shins, all in 30 minutes.
The challenge for most people training at home is structure. Without a coach calling combinations or a class format to follow, bag work can quickly become aimless. You throw a few combos, get tired, rest too long, and before you know it the session has fizzled out.
These five workouts solve that problem. Each routine has a specific focus, timed rounds, and clear objectives. Whether you want to develop knockout power, build fight-ready cardio, or drill defensive counters, there is a session here for you.
Before You Start
Every heavy bag session should begin with proper preparation. Skipping these steps increases injury risk and reduces the quality of your training.
Hand wraps: Always wrap your hands before hitting the bag. Hand wraps protect the small bones in your hands and stabilise your wrists. Use 4.5 metre wraps and ensure you cover the knuckles, thumb and wrist properly. If you are unsure how to wrap, check with your coach or watch a tutorial before your first session.
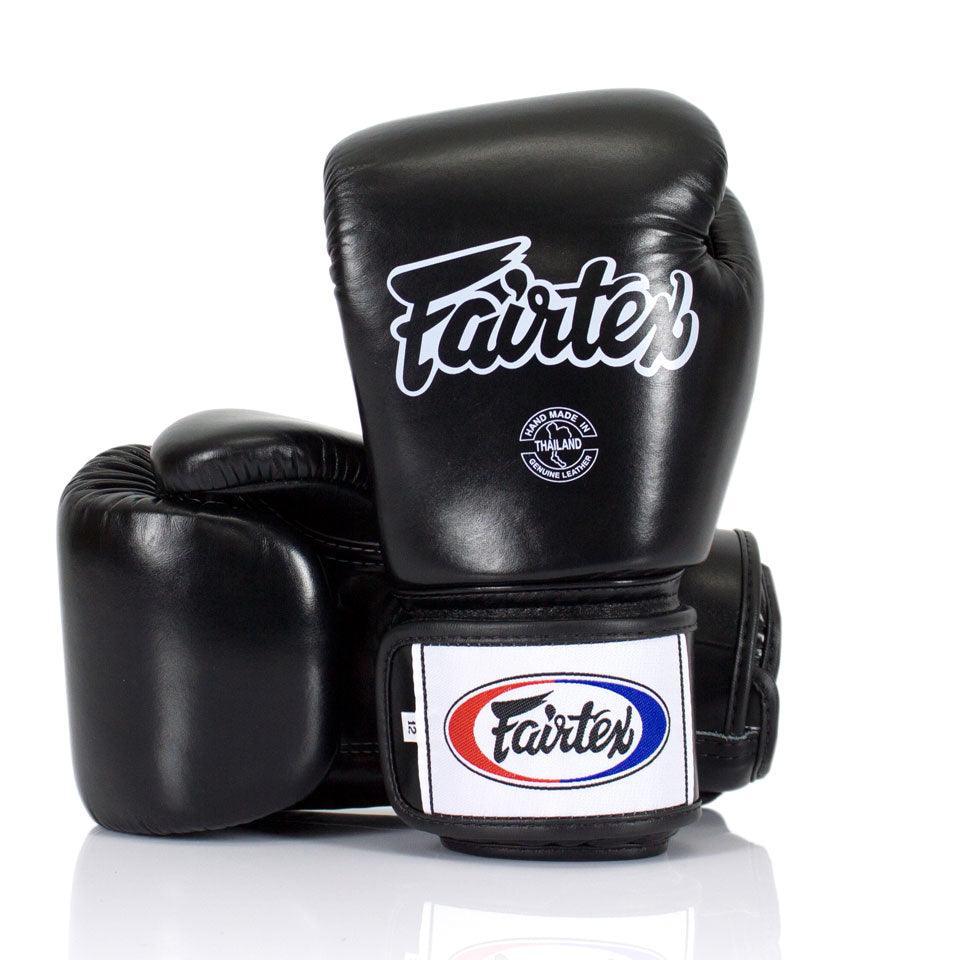
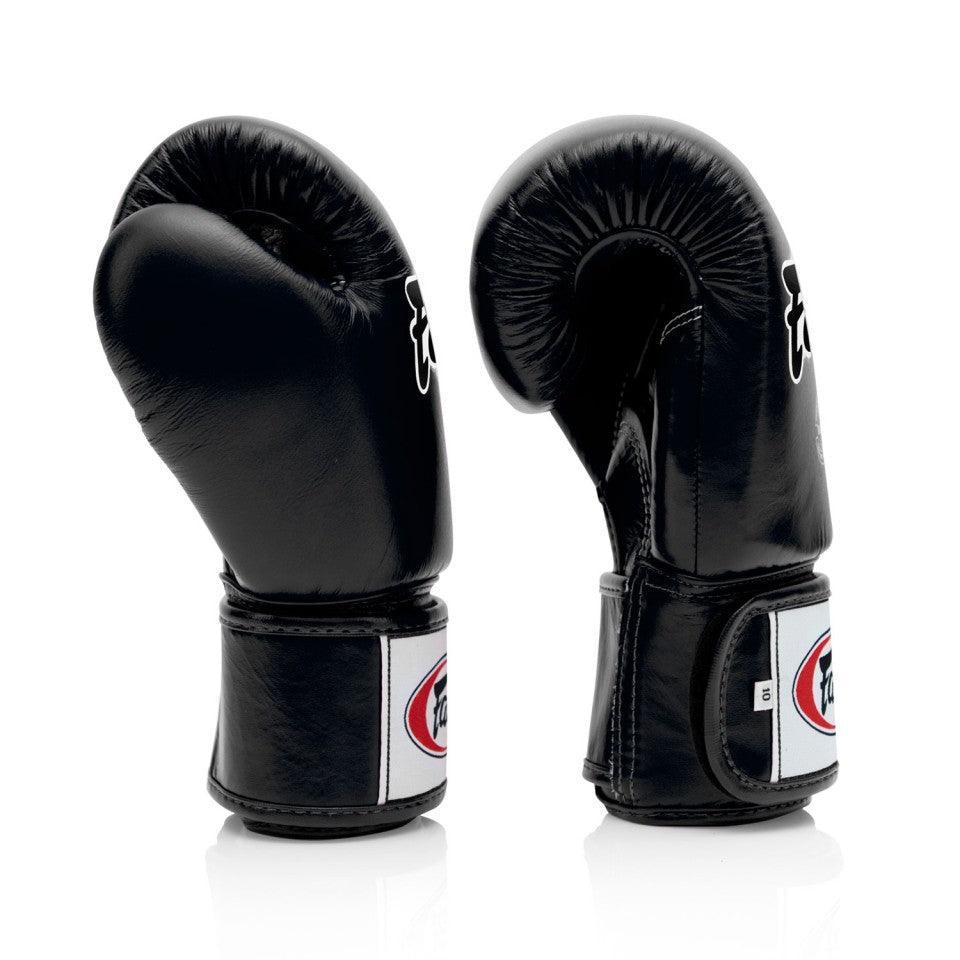
Gloves: Use Muay Thai gloves of appropriate weight. For bag work, 10-14oz gloves are typical. Heavier gloves (16oz) can be used for added resistance training, but lighter gloves allow you to work on speed and accuracy. Bag mitts are another option if you want maximum feedback and minimal padding.
Warm-up: Spend 5-10 minutes warming up before you touch the bag. Skipping rope is ideal as it elevates your heart rate and loosens the shoulders and calves. Follow this with some light shadowboxing and dynamic stretches for the hips and legs.
Timer: Use a round timer app or interval timer. Standard Muay Thai rounds are 3 minutes with 1-2 minute rest periods. All workouts below follow this format unless otherwise stated.
Workout 1: Power Development
Focus: Building knockout power in punches and kicks
Duration: 5 rounds (3 minutes each, 90 seconds rest)
Intensity: 70-80% effort with full commitment on power shots
This workout prioritises quality over quantity. The goal is to throw fewer strikes but make every one count. Focus on technique, rotation and driving through the target.
Round 1: Rear hand power
Work the jab-cross combination with emphasis on the cross. Jab to set up distance and timing, then sit down on the cross with full hip rotation. Reset completely between combinations. Aim for 8-10 quality crosses per minute rather than rapid-fire punches.
Round 2: Lead hook development
Jab-cross-hook combinations. The hook should come from your hips, not your arm. Plant the lead foot, rotate through and let the arm follow. Work both head and body hooks. Visualise an opponent covering up after the cross and landing the hook around the guard.
Round 3: Rear kick power
Rear roundhouse kicks with full commitment. Step out at 45 degrees, turn the hip over completely and drive through the bag. Your standing foot should pivot 180 degrees. Reset after each kick. Do not rush into the next one. Quality rotation beats quantity here.
Round 4: Punch-kick combinations
Combine punches and kicks: jab-cross-rear kick, jab-rear kick, cross-lead hook-rear kick. The punches should set up the kick, creating openings and disguising your intentions. Focus on smooth transitions between hands and legs.
Round 5: Free power round
Choose your most powerful weapons and work them with maximum intent. This could be rear kicks, lead hooks, or uppercuts — whatever you want to develop. Maintain the quality-over-quantity approach throughout.

Workout 2: Cardio Intervals
Focus: Building fight-ready cardiovascular endurance
Duration: 6 rounds (3 minutes each, 60 seconds rest)
Intensity: Variable: alternating between 60% and 90% effort
This workout mimics the pace changes of a real fight. You will alternate between steady output and explosive bursts, teaching your body to recover while still working.
Structure for each round
• 0:00 - 0:30: Steady pace — light jabs, teeps, movement around the bag (60% effort)
• 0:30 - 0:45: Explosion — maximum output combinations (90% effort)
• 0:45 - 1:15: Steady pace — recover while still working
• 1:15 - 1:30: Explosion
• 1:30 - 2:00: Steady pace
• 2:00 - 2:15: Explosion
• 2:15 - 2:45: Steady pace
• 2:45 - 3:00: Final explosion — empty the tank
You may not be able to time the individual periods exactly but that's okay. Be mindful that the explosion period is 15 seconds each time with 30 seconds of steady pace. Count it for the first few types you do this workout and it will become more predictable in future workouts.
During steady periods, focus on movement: circle the bag, throw single shots, work the jab and teep. During explosions, let everything go. Fast combinations, kicks, knees, heavy strikes and solid defense. The key is maintaining output during the steady phases rather than stopping completely.
Workout 3: Technique Refinement
Focus: Drilling specific techniques with precision
Duration: 6 rounds (3 minutes each, 90 seconds rest)
Intensity: 50-60% effort. Technique over power
This workout is about deliberate practice. You are not trying to get tired or throw hard. You are trying to groove perfect technique into muscle memory. Work slowly and thoughtfully.
Round 1: Jab perfection
Nothing but jabs. Work on extension, snap, retraction and returning to guard. Vary the jab: double jabs, jabs to the body, jabs while stepping forward, jabs while stepping back. Focus on keeping the non-punching hand glued to your chin.
Round 2: Teep mechanics
Work the front teep (push kick). Chamber the knee high, extend through the hip, land with the ball of the foot, and retract quickly. Alternate legs and stances. Focus on balance and returning to stance cleanly after each kick.
Round 3: Check and counter
Visualise incoming kicks. Lift your leg to check (shin meets shin), then immediately counter. Check-rear kick, check-teep, check-cross are all useful combinations to drill. Focus on the speed of the check-to-counter transition.
Round 4: Switch kick development
Work the switch kick (lead leg roundhouse with a switch step). This is a deceptive weapon that generates surprising power. Focus on the timing of the switch — both feet should leave the ground briefly as you change stance before launching the kick.
Round 5: Elbow techniques
If your bag setup allows close-range work, drill elbows. Horizontal elbow (sok tat), uppercut elbow (sok ngat), and downward elbow (sok tong). These are close-range weapons — step in before throwing rather than reaching.
Round 6: Clinch knees
Grab the bag as if clinching an opponent and work knees. Alternate between straight knees (driving up the centre) and curved knees (coming around the side). Pull down on the bag as you drive the knee up to simulate controlling an opponent's posture.
Workout 4: Defensive Counters
Focus: Defence-to-offence transitions
Duration: 5 rounds (3 minutes each, 90 seconds rest)
Intensity: 60-70% effort with sharp counters
Good fighters do not just attack — they make opponents pay for attacking. This workout trains the reflexes and patterns needed to counter effectively. You will need to visualise incoming attacks and respond accordingly.
Round 1: Slip and counter
Visualise a jab coming at your head. Slip outside (head moves to your rear shoulder) and counter with a cross. Then slip inside and counter with a lead hook. Alternate between outside and inside slips, always countering immediately.
Round 2: Parry and counter
Parry an imaginary jab with your rear hand, then immediately fire back with your own jab or cross. The parry should be a small, efficient movement — just enough to redirect the punch. Do not reach or overcommit.
Round 3: Check and kick
Check an incoming kick (lift the shin to block), return the foot to the floor, and immediately throw your own kick. The check-kick transition should be fast and fluid. Work both legs.
Round 4: Catch and sweep/counter
Catch an incoming kick (scoop it with your arm against your body), then counter. Options include: dump/sweep (not possible on bag, but visualise), rear kick to the exposed leg, or punches to the open guard. Focus on securing the catch before countering.
Round 5: Mixed defensive counters
Combine all defensive responses randomly. Slip-counter, parry-counter, check-counter, catch-counter. Vary what you visualise coming at you and respond appropriately. This builds the reactive decision-making needed in sparring and fights.

Workout 5: Fight Simulation
Focus: Replicating the demands of a real fight
Duration: 5 rounds (3 minutes each, 60 seconds rest)
Intensity: 80-90% effort. Fight pace
This is about bringing the intensity and mindset as close to a fight as possible without sparring. Treat each round like a real round against an opponent. Move constantly, vary your attacks, and push through fatigue.
Round 1: Feeling out
Start cautious like the opening round of a fight. Establish your jab, find your range with teeps, move around the bag. Do not overcommit early.Use this round to warm into the pace.
Round 2: Establishing dominance
Increase the pressure. Start landing harder combinations and kicks. Push forward, cut off the bag's movement (visualise an opponent retreating), and establish your main striking combinations.
Round 3: Mid-fight grind
Maintain output even as fatigue sets in. Work through the discomfort. Focus on breathing between combinations and keeping strikes sharp and defense tight.
Round 4: Responding to pressure
Visualise an opponent who has found their rhythm and is coming forward. Use defensive counters, create angles, and look for openings to land your own shots. Do not just shell up.
Round 5: Championship round
The final round. Leave everything on the bag. This is where fights are won and lost. Push through whatever fatigue you feel and finish strong. Visualise needing this round to win and fight accordingly.
Equipment for Home Bag Work
To get the most from these workouts, you need appropriate equipment. Here is what we recommend:
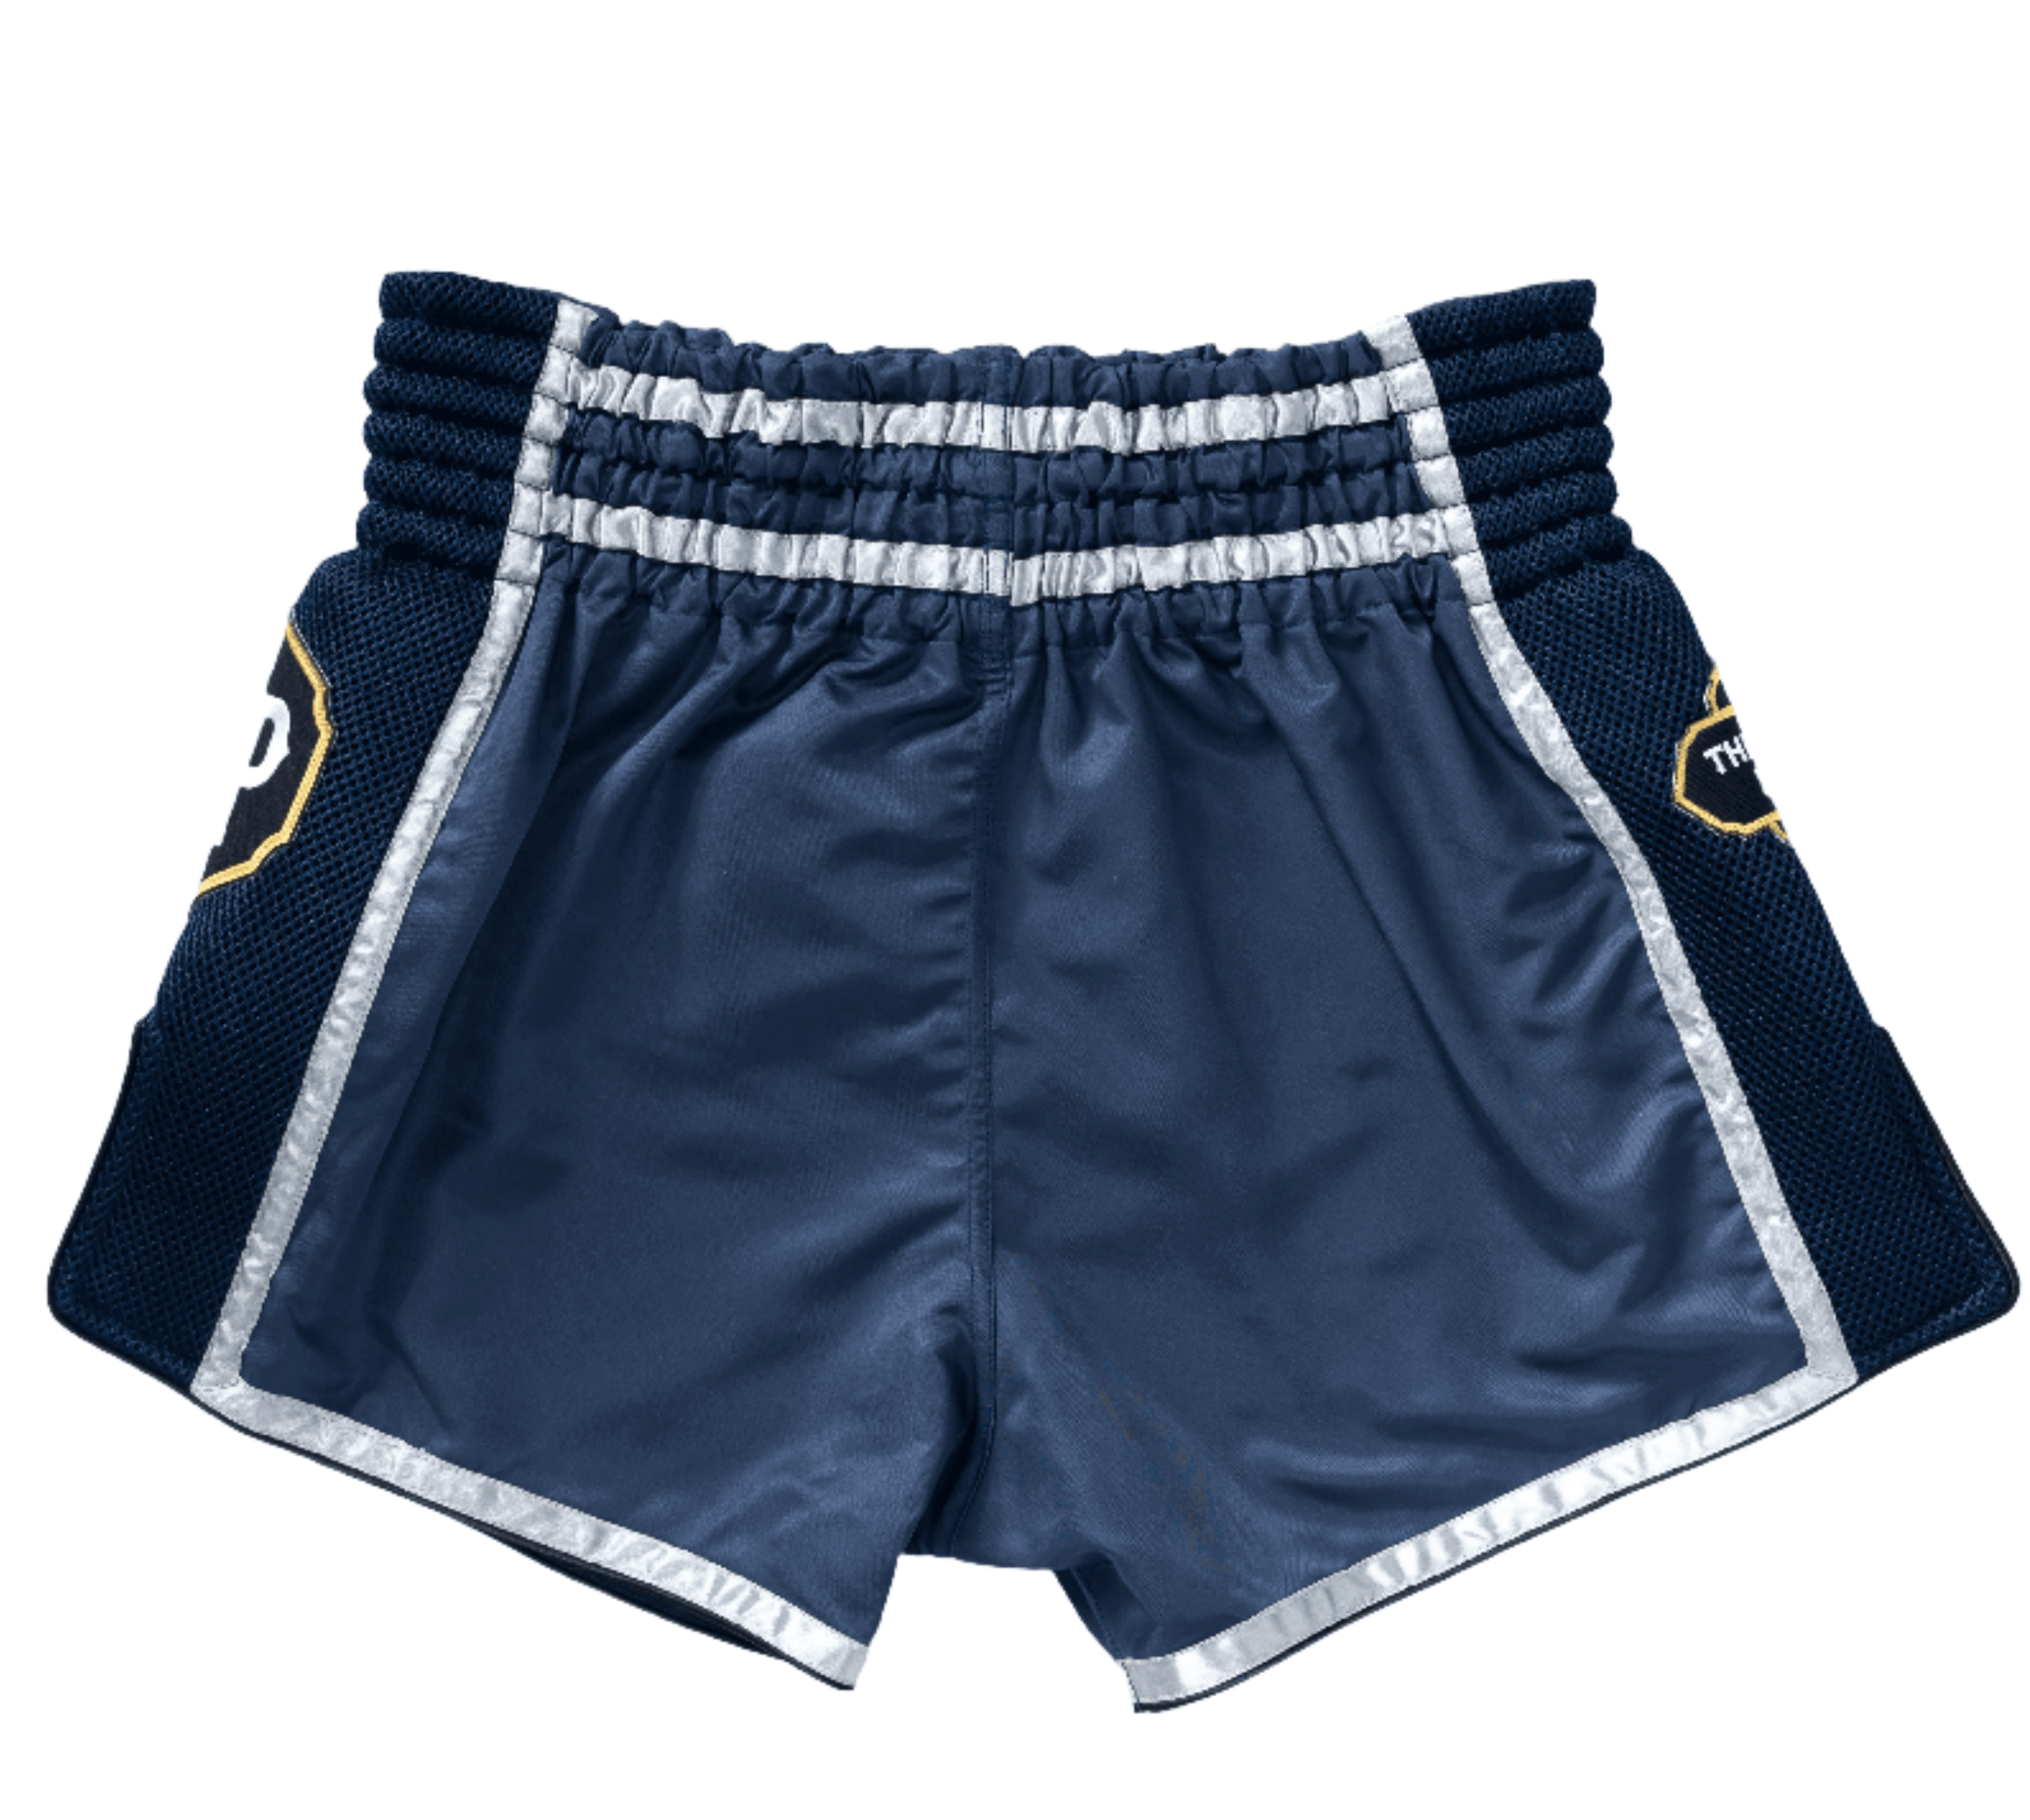
Heavy bag: A quality leather or synthetic leather bag between 4-6ft tall. Longer bags allow you to work kicks and knees at realistic heights.
Gloves: 10-14oz Muay Thai gloves for standard bag work. Consider bag mitts for a closer feel and less padding, which helps develop accuracy.
Hand wraps: 4.5 metre hand wraps are standard. Always wrap before hitting the bag to protect your hands and wrists.
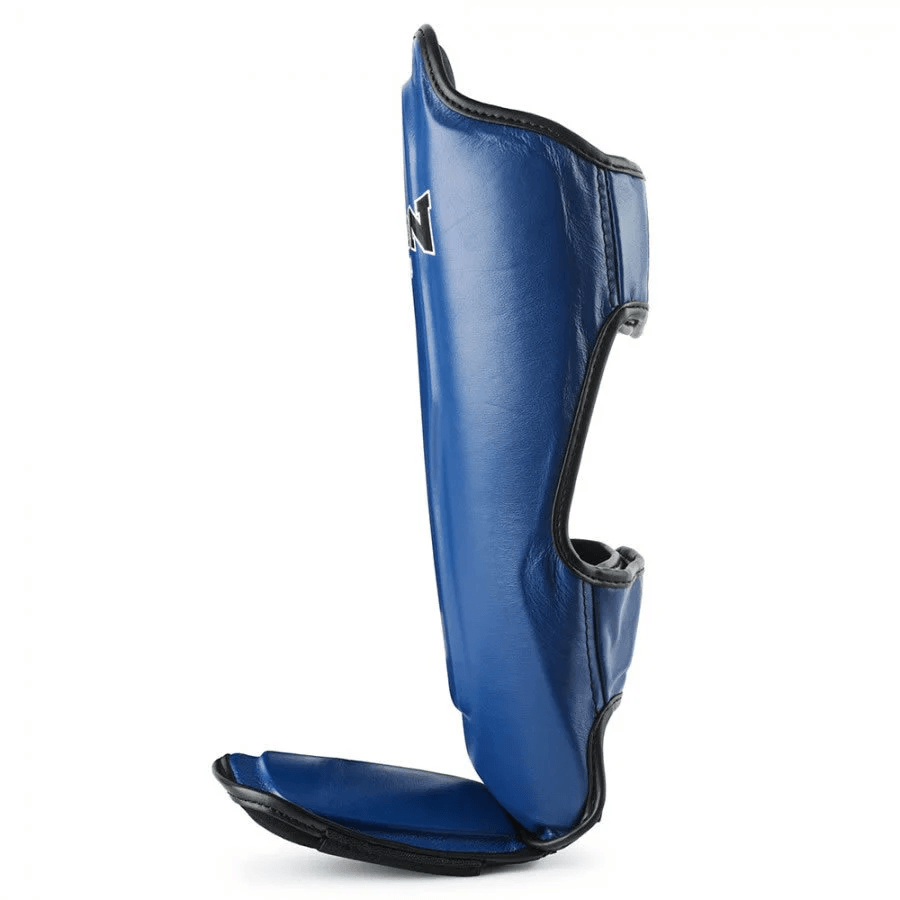
Shin guards (optional): If your shins are not yet conditioned, wearing shin guards [Link: /collections/muay-thai-shin-guards] during bag work can help you train through minor knocks while your shins toughen up.
Timer: Any round timer app works. Set 3-minute rounds with your chosen rest period.
Summary
Heavy bag training is one of the most effective ways to develop your Muay Thai at home. With these five structured workouts, you can build power, improve cardio, refine technique, sharpen defensive counters and simulate fight conditions. All without a training partner.
The key is approaching each session with intention. Know what you are trying to develop before you start, follow the round structure, and push yourself appropriately for the workout's focus. Aimless bag work is better than no training, but structured bag work will accelerate your progress significantly.